The cornerstone guide to the basics of HTML and CSS for SEO and accessibility
If you have no idea what HTML or CSS is but you need to know for your career, internship, or class, this article is the right place to be. This post is a beginner’s guide to HTML and CSS for SEO and accessibility.
HTML and CSS basics
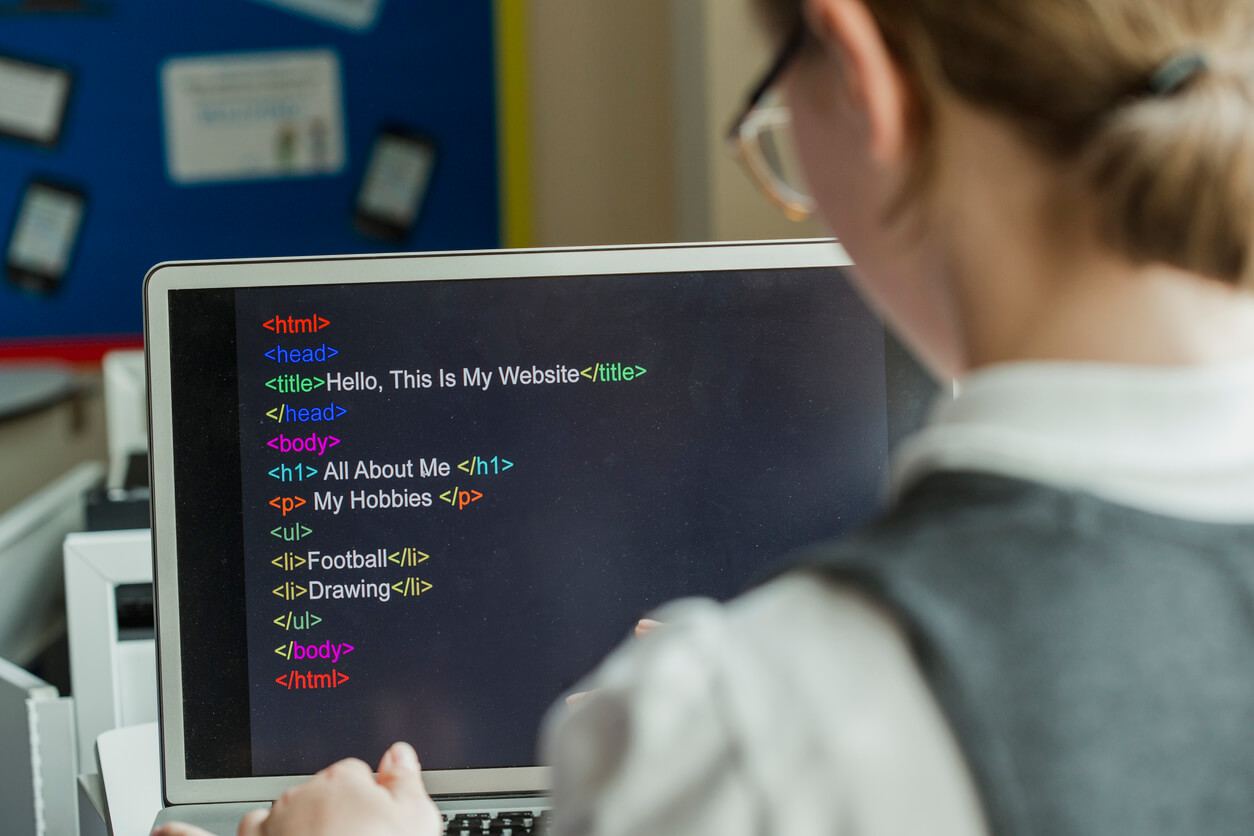
HTML is the building block of most websites. It makes up all of the words, images, and other elements on a page, as well as how all of that content is laid out. Simply put, HTML tells the browser—and it doesn’t matter if its Chrome, Firefox, or any other—how to display the page you’re visiting.
Now, HTML alone isn’t the prettiest of things, and can’t do a lot on its own. That’s where CSS and Javascript come into play. HTML is primarily concerned with the structure of a page—it tells the browser that this is a headline, that is a paragraph, and this is a bulleted list.
What do CSS and Javascript do?
Your CSS (cascading stylesheet) takes all of that boring text and makes it beautiful, putting color and style behind it. Javascript makes things functional and interactive; things like a drop-down menu are made possible with the language. All of these technologies combine to create web pages that can be understood and displayed by the browser.
SEO-friendly HTML code: How Google “reads” pages as it crawls
Essentially, in terms of HTML, if you were to look at the page without any other styling present and Google came along to crawl that page, would it understand what it’s looking at?
Another way to look at this is from the perspective of accessibility. If someone cannot read the words on the screen, and they use a screen reader, are they going to understand what’s important about the page? Will they know which part is a headline, or that this is a bulleted list where the points need to be read in a specific order?
As marketers, we often focus on SEO but don’t write a lot of HTML on our own. There are WYSIWYG editors like WordPress that will style things for us, or our web development team will build templates that we just add things to.
With that being said, however, there may still be times when you’re in WordPress, and you hop over to the editor to make some manual tweaks. This code is what Google is actually reading and using to determine your ranking (among other things).
You can view the HTML of any page on the web by simply right-clicking and choosing View page source from the browser’s sub-menu. Of course, you cannot edit the content or anything, but it does give you an inside look at how webmasters created certain things if you were ever curious.
HTML for beginners: Making your page browser readable
There are a couple of things you must have on an HTML “page” to ensure that it’s accepted and readable by a browser. Those are:
- The document type (which tells the browser how to render the page);
- The head;
- The title; and
- The body.
The head
Let’s concentrate first on the head. The head is where things go that tell Google and your browser about the visual parts of the site, the tracking, analytics, and so on—collectively known as the metadata of the HTML document. It essentially says, “I want you to show this font, in this color.”
Nothing in the head part of your HTML page is actually going to show up on the site. The head contains instructions for loading the page correctly with the right colors and formatting.
The page title
Like the stuff in the head of your HTML document, your page title won’t actually show up on your page itself, but it will show up in the tab of your browser and in Google’s search results.
When you first create an HTML page, you’ll want to make sure that, at the minimum, you have the page title and the meta description, since those will show up in the search results. Now, Google can overwrite what’s in your HTML title, but generally speaking, what you put in your title is what will show in the search results.
The main point is that the stuff in the head of your HTML document is informational. It tells Google and screen readers alike how to read the page.
The next part to get into is the body, which is the “meat and potatoes” of an HTML document.
The importance of nesting and indentation
Nesting is an important concept that web developers use to keep an HTML document organized; it also allows you to build more complex pages. In simple terms, nesting is when you use one HTML element inside another. For example, when you create a paragraph with <p> inside the <body> element, like <body><p></p></body>, you’re nesting one element (the paragraph) within another (the body).
You also don’t want to have everything on one line, or even in one block, as that makes things more difficult to find and edit. So instead, developers will indent various sections of their HTML to make it easier to find precisely what they need to edit.
HTML tags
Most of the time, when working with HTML tags, everything that’s opened has to be closed. So when you’ve got a paragraph tag, you’ll use <p> to begin a paragraph and </p> to end it. A headline would start with <h1> and end with </h1>, and even the structural parts of the page, like <body>, will end with </body> when the page is complete.
The forward-slash “/” denotes the “end.” Why exactly is this important? Well, let’s say that in your CSS, you’ve styled your paragraph text to be blue. Unless you properly close the <p> tag with </p>, all of your text will be blue.
The exception to this rule is that some elements like images don’t have a closing tag. You can write <img src=”https://homepage.com/media/my-dog.jpg”>. Taken apart piece by piece, it’s read like this by the browser:
“An image (img) will appear here. The source (src) of the image is “https://homepage.com/media/my-dog.jpg”.
That’s all the browser needs to be able to load that image. The alt text that’s associated with this image is what would appear if you hover your mouse over the image. Screen readers also use this text. So you could have alt text that reads, “This is a picture of my dalmation.”
HTML tags and attributes
You may also come across some HTML tags that have attributes. Alt text like the one we looked at above is a type of attribute. When there’s an attribute associated with an HTML tag, you don’t need a closing tag. The image tag has the attribute “src.” It can also have attributes for height and width to show the browser what size it should be.
Lookin’ good: CSS for style
Your browser is going to read your CSS to determine stuff like font style, font size, and font color among a number of other things. So if you decide that you want to make your headlines blue, you can do that with CSS. Every website has at least one stylesheet. Some have more.
CSS covers every visual aspect of a page—what the headlines look like, what the body of the page looks like, and how you want other kinds of elements styled. There’s even a tool for Google Chrome called Web Developer that will strip away the CSS code from a page (only for you, not live on the actual site) so you see exactly what Google sees.
Rich snippets
Another interesting portion of HTML pages that’s become popular within the last five years or so is what’s called a “rich snippet.” These are essentially small pieces of code that Google reads that tell it, for example, “This is a physical address,” or, “This is a phone number.” And Google can pull these rich snippets and display them in its search results, which is why you’ll sometimes come across pages that have this rich information directly within their search results.
Rich snippets can be used for a lot more than addresses and phone numbers, though. For example, video content or recipes can be displayed directly in Google without you having to click on the link and go to the site.
With the advent of voice-directed search, such as with Amazon Alexa or Google Home, these snippets may become much more relevant. You can ask, for instance, “What’s the phone number for [insert your local pizza delivery place]?” and the system can grab that rich snippet and feed it back to you.
Common HTML elements
Divs in HTML
Some pieces of HTML that are used strictly for organizational purposes, and a div tag is one such example. You can put other HTML elements inside of a div, and it says to the browser, “I want to keep this piece of information organized together with other things.”
You can also apply CSS to divs. For example, if you want to make a particular section of your page narrower than the rest, or you want to select a certain color for that specific section, you can do that with a div. When Google and screen readers come to this page, they aren’t going to get any kind of semantic value from it, so it’s really for organizational and cosmetic purposes.
Divs are mostly used in page templates to denote where things go, such as navigation in a certain spot, images on the left, text on the right, and so on. It goes deeper than that, but for the purposes of this post, we’ll keep it simple.
Headings in HTML
Just like how the title and body HTML tags are nested, you also want to nest your headers. For example, your main heading on the page, the one that Google gives the most emphasis to, is the <H1> or Heading 1 tag. The other heading tags have progressively lesser priority, such as <H2> being second, <H3> third, and so on. Headings generally go down to level 6.
Now, from a structural standpoint, you can go from <H1> to <H3> and back to <H2>—but realize that when you do so, Google is going to prioritize that information as <H1> being the most important, <H2> being second most important, and then <H3>. So best practice suggests that if you want to use an <H3> like in this example, then you should do so after an <H2> and its associated paragraphs.
Tables in HTML
Tables are another common element of HTML. Practically no one uses them unless there’s a ton of spreadsheet data that they want to have show up on a page. The reason why tables are used so sparingly in HTML is that they’re not mobile responsive.
The good news, though, is that there are better ways to display a mobile-responsive table—your development team can create them accordingly.
Ordered and unordered lists
You can also create lists in HTML. An ordered list follows a sequence of numbers, while an unordered list is a list of bullet points. Ordered lists can be used for things like steps, instructions, or recipes, while unordered lists can be used similarly, but in cases where the order doesn’t matter (such as the ingredients in a recipe, for example).
Just like with headings, you don’t want to go wild by creating lists within lists because these are also difficult for mobile devices to render properly. So be mindful of how you organize information.
Bold versus strong
There’s another set of HTML tags to know about, and those are <b> and <strong>. Now, both of these perform the same function—making text bold. However, there is a semantic difference between them. The <b> tag, or simply bold, is used more for styling and to draw attention to the message, while <strong> is used for the highest degree of emphasis. A screen reader will actually read words that appear after a <strong> tag with more emphasis than others.
Emphasis and italics
Emphasis or the <em> tag and italics <i> tag work the same way. Screen readers will read text placed in <em> and </em> tags with greater emphasis than text that appears in <i>italics</i> tags. Note, however, that <em> generally has less emphasis than <strong>.
What to avoid with HTML and CSS
There are a few things you’ll want to watch out for when working with HTML and CSS. The first thing to avoid is inline CSS. Inline CSS can happen when you want a certain bit of text to appear as a certain size or color, for example, and you put a simple line of code in the HTML. It’s better not to do this, especially in the WordPress editor, since it makes it more difficult to edit these things at a global level.
For HTML, it’s always a good idea to use lowercase. Although <bold>, <BOLD>, and even <BoLd> will achieve the same result, it’s much cleaner and more consistent to just leave it in lowercase. The only time you might use uppercase in HTML is when you have an image actually saved with uppercase letters, such as “My-Dog.jpg.”
Finally, perhaps the most important thing to remember is that when you’re writing anything in HTML, you should imagine it without any styling, just as screen readers and Google itself are reading it. Assumptions about styling and appearance can be misleading, depending on the device used.
Developer tools in Chrome
Your web browser, particularly Chrome, has developer tools built right into it. In the same way that you’d right-click and open up your page source, you can also right-click and choose “Inspect” to see precisely how your page renders on different devices. So even if you don’t own an iPhone, Galaxy, or Pixel, you can see what it would look like on the relevant devices right from within Google Chrome.
You can use these tools, for example, to see which stylesheet a particular style is coming from. You can also edit it freely and feel confident that it’s not going to update on the live site. The same goes for headings, paragraphs, or anything else—any edits you make will only show for you.
This feature is great for mockups, where the client might ask, “Can you show me what it looks like with this paragraph added or change this headline?” You can make the changes right within Chrome and send it back to them to make sure it’s how they want it.
Just remember that once you close out the developer tools, the edits you made won’t save, so if you’re going back and forth with a client, making changes, and double-checking things, be sure you keep the developer tools open. Otherwise, you’ll lose the work you’ve done since it’s only stored within your browser at that moment, and nowhere else.
It’s a great way to play around and see what happens when you try out different things. It also gives you a better idea of what code controls the structure and design of a page, and what happens if you change it.
Conclusion
This HTML tutorial for beginners should fill you in on everything you need to know to navigate HTML’s use as a marketer and for SEO success. However, this is only scratching the surface of what’s possible with HTML. If you’re looking for more detailed development work, user interface design, or strategy, reach out to WebMechanix to get the one-on-one help you need to truly make your website thrive.
Now it’s your turn! How comfortable do you feel navigating HTML code and stylesheets? Do you feel confident that you can make minor changes to code on your own? Share your thoughts with us in the comments!
Most newsletters suck...
So while we technically have to call this a daily newsletter so people know what it is, it's anything but.
You won't find any 'industry standards' or 'guru best practices' here - only the real stuff that actually moves the needle.


